


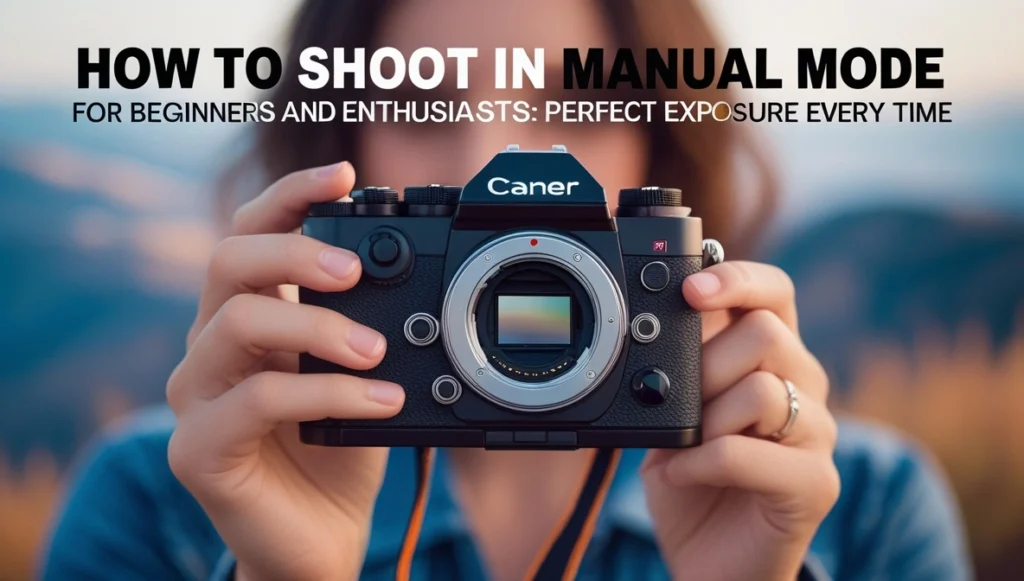
Mastering how to shoot in manual mode is one of the most important steps in becoming a confident photographer. For first-timers, shooting in Manual mode may seem like a daunting task. On the other hand, Auto and other camera modes can’t compare to the level of control that Manual provides. That’s why we frequently shoot in Manual and why we think every photographer should give it a shot.
Shooting in Manual isn’t exactly child’s play, but it’s also not as daunting as it looks. Of course, you may have some initial difficulty; we did! – but if you grasp the fundamentals and put in the time to practice, you’ll probably wish you had known how to utilize it sooner.
What makes learning how to shoot manually appealing to you?
When you shoot in manual mode, you get to choose the settings, not the camera. Do you ever find yourself wondering why your photographs turn out fuzzy when you shoot in low light? Reason being, you’re giving your camera complete control over the settings. In some of the photographs, is the visual quality very grainy? That’s the camera deciding things for you. Are you more interested in learning how to capture nighttime star shots or light trails created by speeding cars on a highway? The next step is to regain command of your creative process.
Consequently, this article will provide a comprehensive guide on how to shoot in manual mode, covering all the bases:
- What it is and the various options for control that it provides
- The key to reliably spectacular results every time
- Reasons why you should consider using manual mode
- If you’re prepared to conquer Manual mode, then we are here to help!
What Does “how to shoot in manual mode” Really Mean?
If you want full control over your camera’s settings, switch to manual mode. You have complete control over your camera’s settings after you switch to Manual. First and foremost, when you go to Manual mode, you’ll be able to separately tweak the three most critical exposure variables:
- ISO
- Aperture
- Shutter speed
The exposure of your images is determined by the interplay of the ISO, aperture, and shutter speed. They modify the sharpness, depth of field, and general file quality, which in turn affects your photographs in other important ways.
That is the power of the Manual mode. You have complete control over the exposure of your images in Manual mode. Additionally, you may maintain high-quality low-light images, make a variety of depth-of-field effects, and guarantee pinpoint sharpness.
In contrast, there are a number of alternative modes that allow you to tweak some parameters while the camera handles the rest, such as completely automated and semi-automatic modes. Be that as it may, there are plenty of situations in which you’ll want to switch to a different setting—like the widely used Aperture Priority mode—even if Manual mode is great for most kinds of photography. Because mastering Manual mode requires familiarity with the exposure triangle, let’s take a closer look at the three primary exposure settings before we go into the nuts and bolts of shooting in Manual.
To get an accurate reading from any exposure, what are the three factors you need to consider?
ISO
You can think of ISO as a measure of the quality of your camera’s sensor or film. People back in the day of filming really got this. Specifically, 100 speed film would be more appropriate if you were anticipating shooting on a really sunny day. Because of its high sensitivity and ability to capture more light, 1600 speed film is the film to use while photographing in low light. The digital age has preserved these values, and today we speak about adjusting the sensor’s sensitivity for various lighting conditions as our ISO number. The standard ISO range for contemporary cameras is 100 to 6400. Keep in mind that a higher number indicates that the sensor is more sensitive to light entering the camera.
Aperture
What we mean by “aperture” is the size of the opening in your lens that allows light to pass through. Aperture, sometimes represented as a F-number, indicates the breadth of a lens’s opening to light. In contrast to a high-quality lens, which may open to an aperture as large as F1.2, allowing an abundance of light to pass through, your lens’s aperture of F22 is modest and won’t do very much.
Shutter speed
A camera’s shutter speed determines how long it takes for the internal mechanism of the device to open and expose the film or sensor to light entering through the lens aperture. The sound of the shutter opening and closing after you press the button is the sound of the shutter allowing light to strike the sensor, which in turn captures an image. The intervals between each shutter speed value range from one thousandth of a second, which is extremely quick and lets very little light through, to thirty seconds, which would expose the sensor to light for a very long time.
A step-by-step guide to using the Manual mode of function
When shooting in manual mode, you have complete control over the exposure of your final image by adjusting the shutter speed, aperture, and ISO separately. (Also, you can tweak the white balance to eliminate color casts and create unique effects.)
In most cameras, you can access Manual mode by adjusting the mode dial located on the top of the device. While your camera’s dial may provide a number of additional settings, such as “A” or “Av” for Aperture Priority mode and “P” for Program mode, you should set it to “M” for Manual.
After putting your camera into manual mode, the next step is to precisely configure the variables to get the shot you want.
Changing settings in Manual isn’t a science, but here’s what we’ve found to work:
Step 1: Choose an aperture based on how much depth of field you want
Would you like a narrow DOF? Or a really large depth of field? Set the aperture to the size you like. Select a wide aperture if you desire a blurred backdrop. Select a narrow aperture if you desire a clear backdrop.
Focus utterly on the aperture and the effects of depth of field; ignore the overall exposure of the image.
Step 2: Prioritize Sharpness by Adjusting Shutter Speed
How fast of a shutter speed is required to maintain sharpness? Here, you can use the helpful Reciprocal Rule or make an educated guess based on past experiences if your subject is totally still. (Never use shutter speeds lower than 1/125s while photographing still subjects handheld.)
It may take some trial and error to acquire pin-sharp shots when your subject is in motion. Keep in mind that a shutter speed of 1/1600s or faster is required to capture subjects like tiny birds in flight, while subjects with a reasonable amount of motion, such runners, can be well captured at 1/250s to 1/500s.
You may certainly go as low as 1/30s or even lower if you’re going for a deliberately blurry effect or if you’re photographing a stationary subject using a tripod. Proceed to the next step when you have set your shutter speed.
Step 3: Choose the best brightness by setting the ISO and adjusting the shutter speed and aperture
By now, you should have chosen an aperture according to aesthetic considerations and adjusted the shutter speed to achieve pinpoint clarity. The last step is to get the exposure right, which you should ideally achieve by adjusting the ISO. Put your ISO to its minimum setting first. Depending on your camera, this could be ISO 50, ISO 160, or ISO 200; however, it is typically ISO 100.
The next step is to aim your camera toward the subject you wish to capture while keeping a close eye on the exposure bar located at the base of the viewfinder. To correct underexposure (left-shifted) in the exposure bar, raise the ISO till the bar is in the middle. Lowering the shutter speed or expanding the aperture are some options to consider when concerned about high-ISO noise effects. Always remember that a wider aperture will provide a shallower depth of field and a slower shutter speed will make your shots fuzzier.
If the bar is tilted to the right, meaning the exposure is too bright, you can fix this by adjusting the shutter speed or aperture until the bar is level. Keeping whatever artistic affects you wish to create is more important than which setting you change. To achieve a shallow depth of field with a wide aperture, increase the shutter speed. Also, if you want to achieve artistic motion blur with a slow shutter speed, you can narrow the aperture and keep the shutter speed at its original setting.
Conclusion
Learning how to shoot in manual mode can feel overwhelming even at first, but it’s a gateway to the genuine new freedom of photography When you learn how aperture, shutter speed, and ISO work together, your digital camera becomes an instrument—no longer a determinant. With constant practice, perseverance, and experience, there is a way to shoot in manual mode to have a second nature. Over time, you stop guessing and start making snapshots exactly as you see them.


Shruti Singh is a passionate writer having 6 years of writing and editing experience. Through her articles on news2world, she explores the connection between people, planet, and everyday choices, translating complex information and issues into clear, engaging, and practical insights. Her work aims to inspire readers to adopt eco-friendly habits, think critically, and contribute meaningfully to a more comfortable future.


